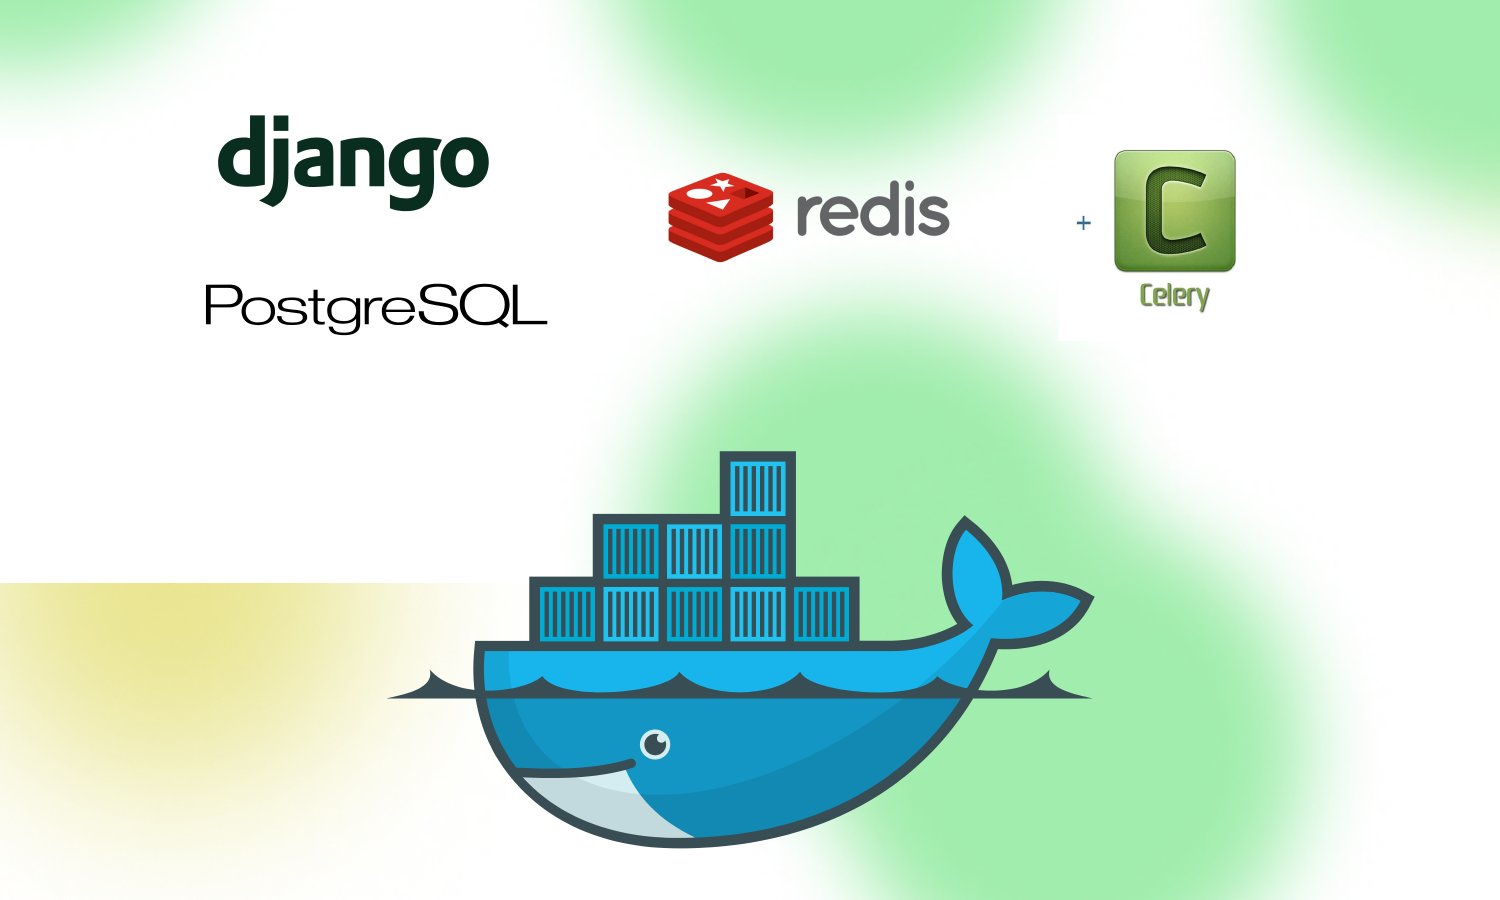
Docker、Postgres、Redisキャッシュ、Redisメッセージキュー、Celeryを用いたDjangoの設定方法
By khoanc, at: 2024年9月12日21:58
予想読書時間: __READING_TIME__ 分


スケーラブルなウェブアプリケーションを構築する開発者にとって、DockerとDjango、Postgres、Redis、Celeryを統合することは、効率的で堅牢なセットアップを提供します。
このガイドでは、DockerとDocker Composeを使用して、データベース、キャッシング、非同期タスク処理のニーズに対応するコンテナ化された開発環境を作成する手順を説明します。これは、以前のブログ記事 - Dockerを使用してPostgreSQLでDjangoアプリを設定する方法 - の高度なトピックです。
なぜこのセットアップなのか?
これらのテクノロジーを組み合わせることで、以下のメリットがあります。
- 強力なデータベース:Postgresは、信頼性が高く、機能豊富なリレーショナルデータベースです。
- 効率的なキャッシング:Redisはデータベースの負荷を軽減し、リクエスト処理を高速化します。
- 非同期処理:Celeryは、メールの送信や画像の処理などの長時間実行されるタスクを処理します。
- 移植性:Dockerは、すべての環境で一貫性を確保します。
前提条件
始める前に、以下の条件を満たしていることを確認してください。
ステップ1:プロジェクトディレクトリのセットアップ
明確性とスケーラビリティのためにプロジェクトを整理します。
django-docker-redis/

├── django_project/

├── Dockerfile

├── docker-compose.yml

├── requirements.txt

├── celery_tasks/
ステップ2:Dockerfileの作成
Dockerfileは、アプリケーションの環境を定義します。Djangoの最小限のセットアップを以下に示します。
# 軽量のPythonベースイメージを使用

FROM python:3.10-slim
# コンテナ内の作業ディレクトリを設定

WORKDIR /app
# 依存関係をコピーしてインストール

COPY requirements.txt /app/

RUN pip install --no-cache-dir -r requirements.txt
# アプリケーションコードをコンテナにコピー

COPY . /app/
# Django開発サーバー用のポート8000を公開

EXPOSE 8000
# Djangoアプリを実行するコマンド

CMD ["python", "manage.py", "runserver", "0.0.0.0:8000"]
ステップ3:Docker Composeの設定
docker-compose.ymlファイルは、複数のサービスを管理します。Django、Postgres、Redis、Celeryを定義する方法を以下に示します。
version: '3.8'
services:

  web:

    build: .

    command: python manage.py runserver 0.0.0.0:8000

    volumes:

      - .:/app

    ports:

      - "8000:8000"

    depends_on:

      - db

      - redis
  db:

    image: postgres:13

    environment:

      POSTGRES_USER: glinteco

      POSTGRES_PASSWORD: glinteco

      POSTGRES_DB: glinteco
  redis:

    image: redis:6
  celery:

    build: .

    command: celery -A django_project worker --loglevel=info

    depends_on:

      - redis

      - db
ステップ4:Django設定の更新
データベースの設定
settings.pyで、Postgresに接続するようにDATABASES設定を更新します。
DATABASES = {

    'default': {

        'ENGINE': 'django.db.backends.postgresql',

        'NAME': 'glinteco',

        'USER': 'glinteco',

        'PASSWORD': 'glinteco',

        'HOST': 'db',

        'PORT': 5432,

    }

}
Redisをキャッシュバックエンドとして設定
CACHES = {

    'default': {

        'BACKEND': 'django.core.cache.backends.redis.RedisCache',

        'LOCATION': 'redis://redis:6379/1',

    }

}
Redis用のCeleryの設定
CELERY_BROKER_URL = 'redis://redis:6379/0'

CELERY_ACCEPT_CONTENT = ['json']

CELERY_TASK_SERIALIZER = 'json'
ステップ5:Celeryタスクの作成とテスト
Celeryの設定を追加
あなたのDjangoプロジェクトで、celery.pyファイルを作成します。
from celery import Celery
app = Celery('django_project')

app.config_from_object('django.conf:settings', namespace='CELERY')

app.autodiscover_tasks()
サンプルタスクの作成
あなたのアプリで、tasks.pyを追加します。
from celery import shared_task
@shared_task

def add(x, y):

    return x + y
ステップ6:コンテナのビルドと実行
イメージのビルド
docker-compose build コンテナの起動
docker-compose up マイグレーションの実行
docker-compose run web python manage.py migrate Celeryタスクのテスト
Celeryシェルを使用してタスクをテストします。
docker-compose run celery celery -A django_project call tasks.add --args='[10, 20]'
ステップ7:セットアップのテスト
http://localhost:8000でDjangoアプリにアクセスします。
- APIエンドポイントを使用してRedisキャッシングをテストします。
- Celeryタスクが非同期に処理されていることを確認します。
本番環境向け機能拡張
このセットアップを本番環境対応にするには、以下の点を考慮します。
- 開発サーバーを
gunicornに置き換えます。
nginxをリバースプロキシとして使用します。
Flowerを使用してCeleryタスクを監視します。
.envファイルを使用して機密情報を保護します。
結論
このガイドでは、DjangoとDocker、Postgres、Redis Cache、Redis Message Queue、Celery を設定する方法を説明しました。このアーキテクチャにより、アプリケーションは高トラフィックを処理し、パフォーマンスを最適化し、非同期タスクを効率的に管理できます。
さらに詳しく知りたい場合:


