Django 14日間学習:1日目 - Django入門
By JoeVu, at: 2023年6月12日11:14
予想読書時間: __READING_TIME__ 分
Django入門
Djangoは、Pythonで記述された強力なWebフレームワークであり、Webアプリケーションの開発を簡素化し、高速化します。「Batteries-included」の理念に従い、Web開発プロセスを合理化する包括的なツールとライブラリを提供します。そのスケーラビリティと堅牢性により、Djangoは開発者の間で非常に人気があります。
デモアプリケーションは書店管理です。ソースコードはこちらにあります
Pythonとpipのインストール
深く掘り下げる前に、Pythonとpip(Pythonパッケージマネージャー)がシステムに正しくインストールされていることを確認する必要があります。PythonはDjangoが構築されているプログラミング言語であり、pipはDjangoやその他のPythonパッケージを簡単にインストールするために使用されます。Pythonとpipをインストールする手順を以下に示します。
- 公式Python Webサイト(https://www.python.org/downloads/)にアクセスし、お使いのオペレーティングシステムに適した最新バージョンのPythonをダウンロードします。推奨バージョンは3.10です。
- ダウンロードしたインストーラーを実行し、インストール手順に従います。
- コマンドラインインターフェースを開き、
python --versionと入力してPythonが正常にインストールされていることを確認します。インストールされたPythonバージョンが表示されます。 - 次に、
pip --versionコマンドを実行してpipがインストールされているかどうかを確認します。pipが見つからない場合は、公式pipドキュメントの手順に従ってインストールできます。
さらに、ローカル開発環境の構築には当ブログ記事に従ってください。
開発環境の設定
Djangoで効果的に作業するには、適切な開発環境を設定することが不可欠です。必要な主要なコンポーネントを以下に示します。
-
テキストエディター:好みに合ったテキストエディターまたは統合開発環境(IDE)を選択します。開発者の間で人気のある選択肢としてはVisual Studio Code、Sublime Text、PyCharmなどがあります。これらのエディターは、コードの強調表示、自動補完、簡単なプロジェクト管理などの機能を提供します。
-
コマンドラインインターフェース:PythonとDjangoコマンドを実行するには、コマンドラインインターフェース(CLI)が必要です。Windowsでは、コマンドプロンプトまたはPowerShellを使用できます。MacとLinuxでは、ターミナルまたはiTermが一般的に使用されます。CLIが適切に構成され、任意の場所からアクセスできることを確認してください。
詳細については、当ブログ記事をご覧ください。
virtualenvのインストールと使用
仮想環境はPython開発において重要なツールであり、独自のPythonパッケージセットを持つ分離された環境を作成できます。これにより、プロジェクトの依存関係が分離され、異なるプロジェクト間の競合が回避されます。virtualenvをインストールして使用する方法は次のとおりです。
pip install virtualenvコマンドを実行してvirtualenvをインストールします。virtualenv venvコマンドを実行して、Djangoプロジェクト用の新しい仮想環境を作成します。「venv」を目的の環境名に置き換えます。- お使いのオペレーティングシステムに適したコマンドを使用して仮想環境をアクティブ化します。
- Windowsの場合:
venv\Scripts\activate - Mac/Linuxの場合:
source venv/bin/activate
- Windowsの場合:
- アクティブ化されると、コマンドラインインターフェースに仮想環境内で作業していることが示されます。
pip install djangoコマンドを実行して、仮想環境内にDjangoをインストールします。これにより、Djangoがプロジェクトの分離された環境のみにインストールされます。- より良い管理のために、Webアプリケーションに必要なすべてのパッケージを格納する
requirements.txtという名前のファイルを作成できます。
詳細については、当ブログ記事をご覧ください。
Djangoプロジェクトの作成
Python、pip、virtualenvが設定されたら、最初のDjangoプロジェクトを作成する準備が整いました。開始するには、次の手順に従います。
- Webアプリケーションのルートディレクトリを設定します。
- コマンドラインインターフェースを開き、
cdコマンドを使用して選択した場所に移動します。 django-admin startproject bookstoreコマンドを実行して、新しいDjangoプロジェクトを作成します。「bookstore」を目的のプロジェクト名に置き換えます。- コマンドが完了すると、初期のDjangoプロジェクト構造を含む「bookstore」(または選択したプロジェクト名)という新しいディレクトリが作成されます。
開発サーバーの実行
Djangoプロジェクトをローカルでテストするには、開発サーバーを実行する必要があります。開発サーバーを使用すると、Webブラウザでアプリケーションをプレビューできます。サーバーを起動するには、次の手順に従います。
- コマンドラインインターフェースを使用して、プロジェクトのルートディレクトリ(
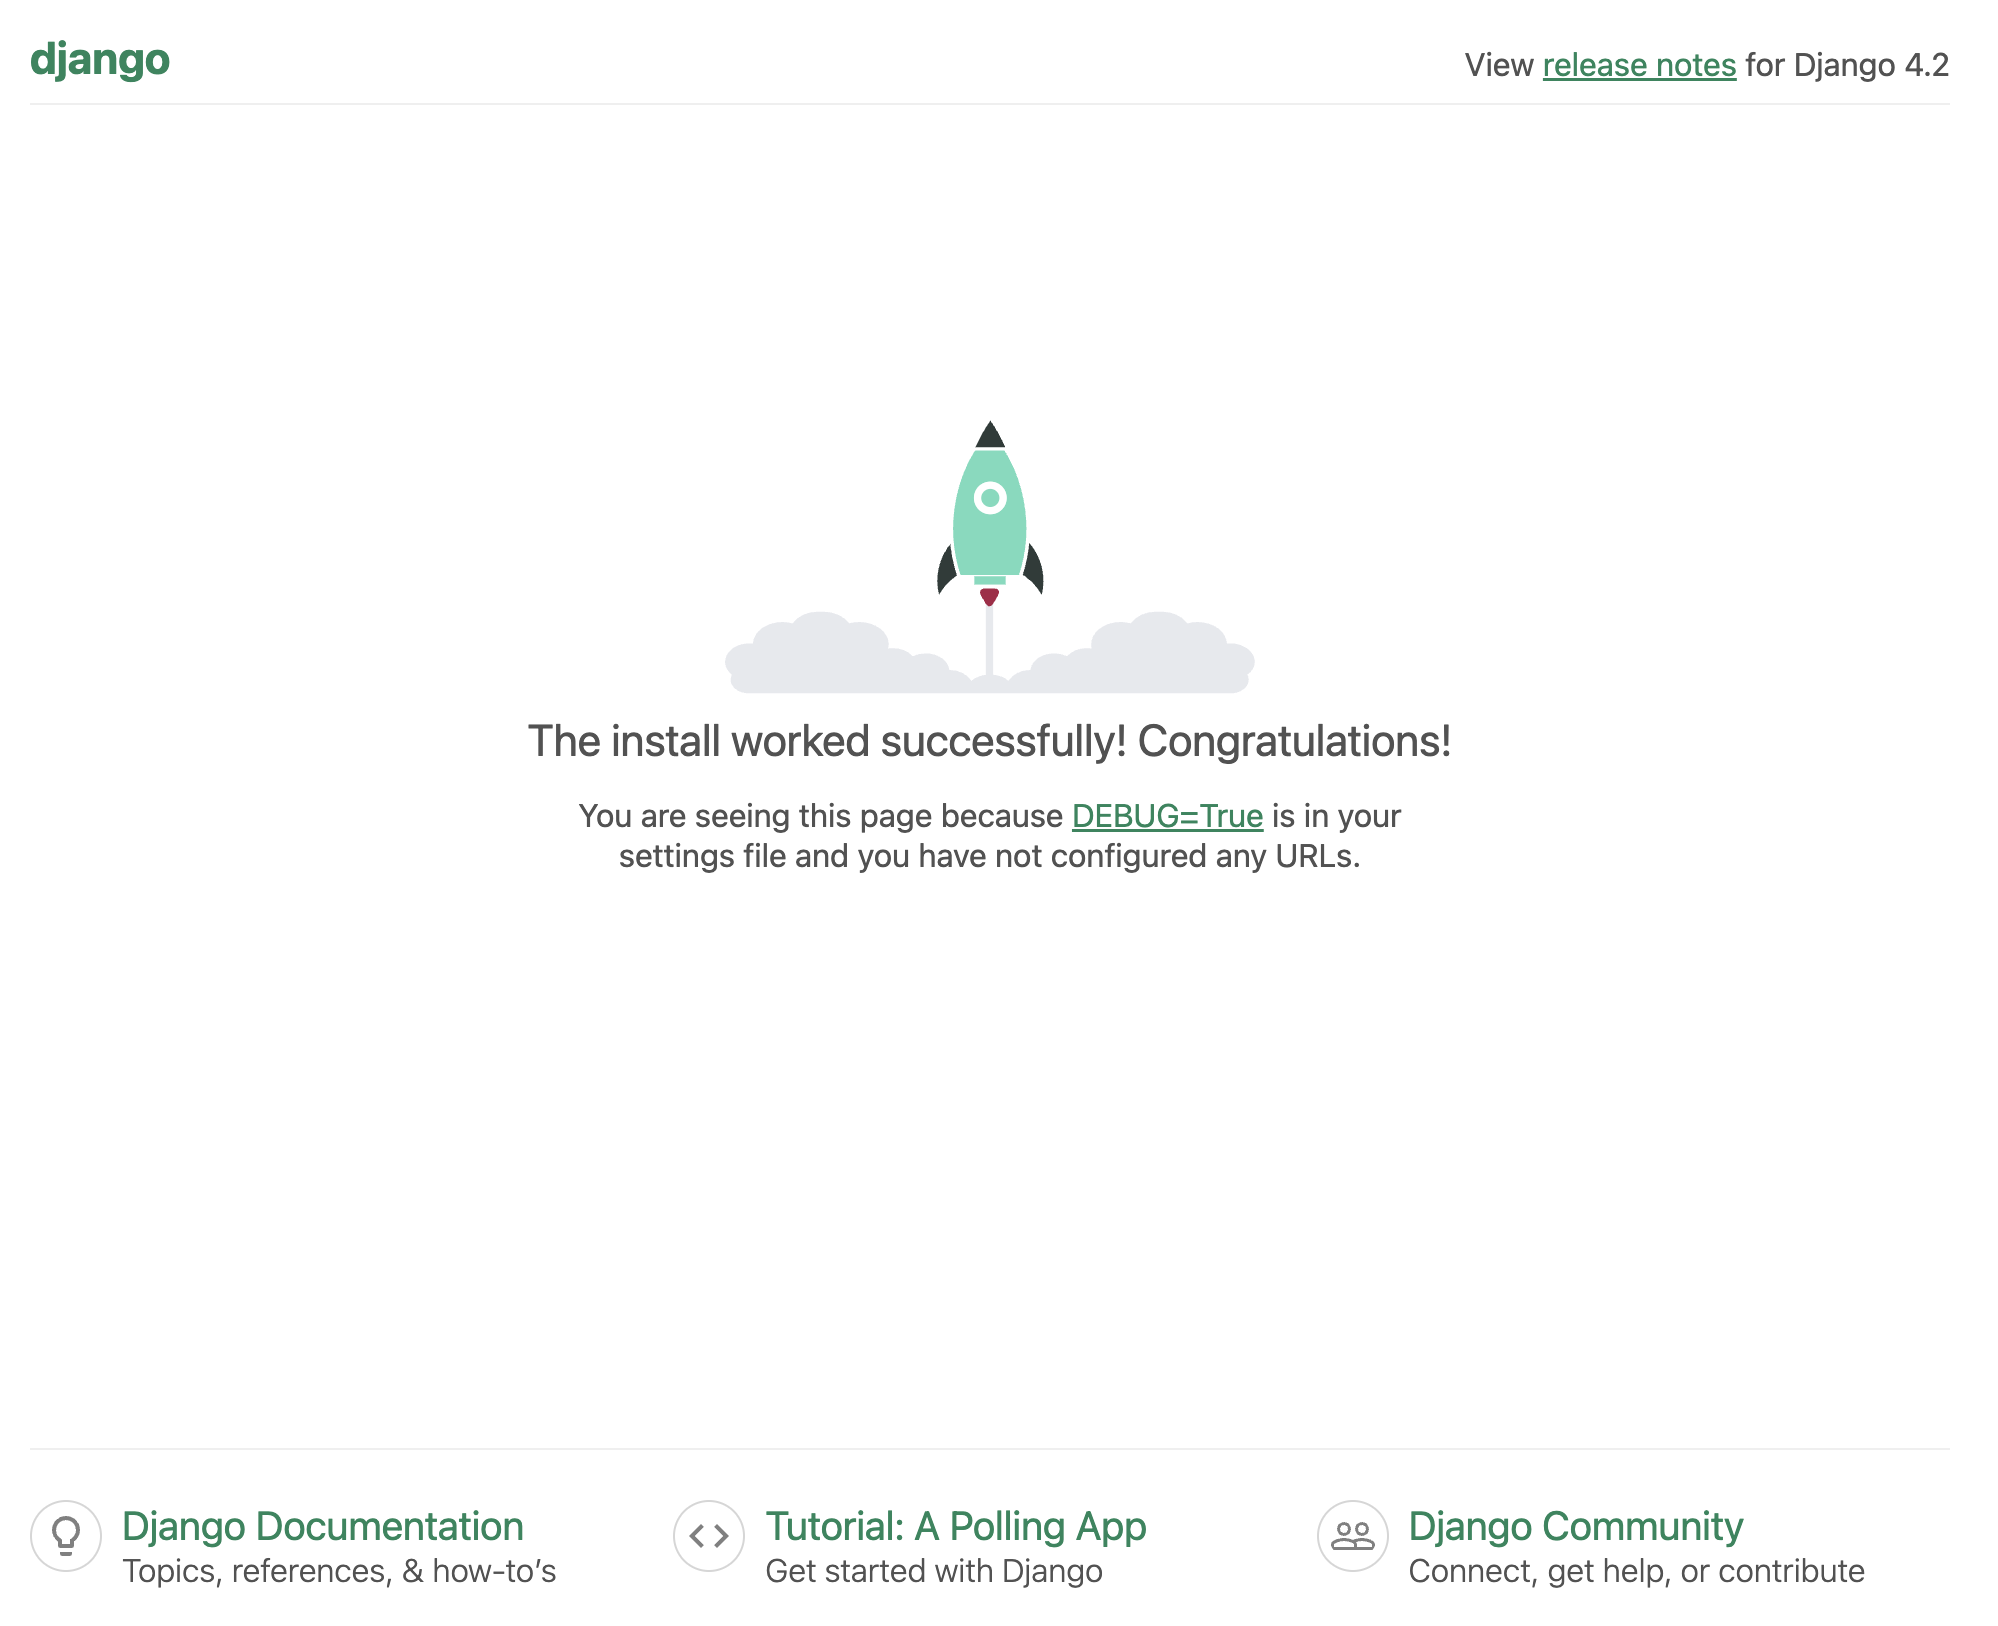
bookstore)に移動します。 python manage.py migrateコマンドを実行して、必要なテーブルをすべて作成します。python manage.py runserverコマンドを実行します。これにより開発サーバーが起動し、サーバーが実行中であることを示す出力が表示されます。- Webブラウザを開き、「http://localhost:8000」または「http://127.0.0.1:8000」のURLを入力します。Djangoのデフォルトのウェルカムページが表示されます。
デフォルトのDjangoプロジェクトの概要
新しいDjangoプロジェクトを作成すると、いくつかのファイルとディレクトリを含むデフォルトのプロジェクト構造が生成されます。これらのコンポーネントをよく理解することが重要です。
まず、アプリケーションと同じ名前のディレクトリbookstoreには、次のファイルが含まれています。
-
設定ファイル:
settings.pyファイルには、データベース接続、インストールされたアプリケーション、ミドルウェアの設定など、Djangoプロジェクトの設定が含まれています。 -
URL構成:
urls.pyファイルは、プロジェクトのURLルーティングを定義します。URLパターンを対応するビューまたはビューセットにマップします。 -
メインアプリケーション:デフォルトでは、Djangoプロジェクトにはメインアプリケーションとも呼ばれる単一のアプリケーションが含まれています。このアプリケーションはプロジェクトのエントリポイントとして機能し、メインのURL構成が含まれています。(asgi.pyとwsgi.py)という2つのファイルがあり、それぞれに独自の目的があり、両方とも正常に動作します。
さらに、django-adminと同様に機能するが、より頻繁かつ容易に使用される重要なファイルmanage.pyがあります。
Django管理インターフェースの探索
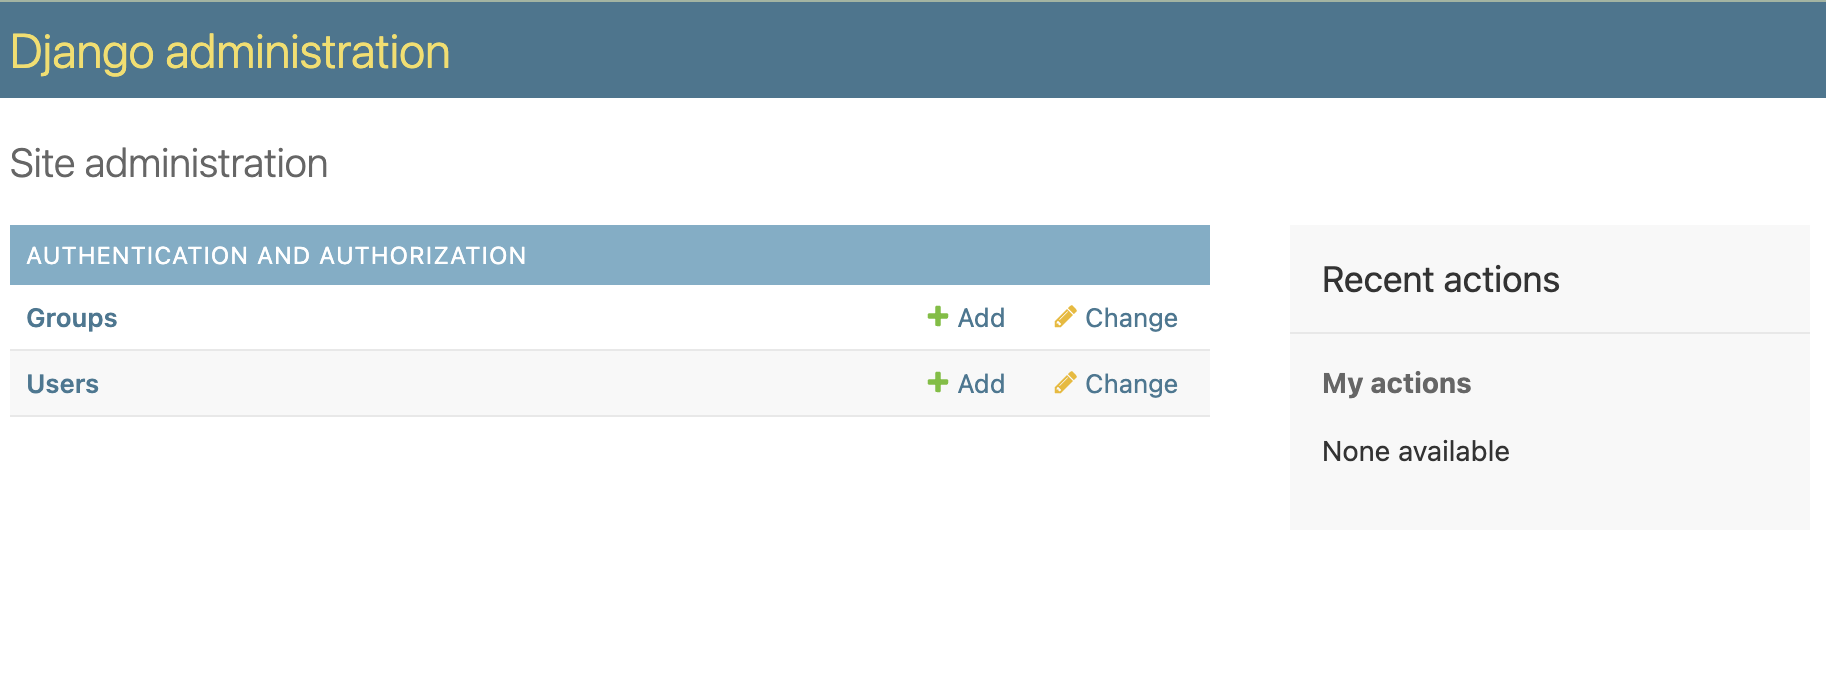
Djangoは、一般にDjango管理と呼ばれる強力な組み込み管理インターフェースを提供します。このインターフェースを使用すると、作成、更新、削除などのレコードを含むプロジェクトのデータを管理できます。Django管理を探索する方法は次のとおりです。
- 開発サーバーが実行されていることを確認します。
- スーパーユーザーアカウントを作成するには、ターミナルで
python manage.py createsuperuserを実行し、指示に従います。 - Webブラウザを開き、管理URL(通常は「http://localhost:8000/admin」)に移動します。
- 手順2で作成したユーザー名とパスワードを使用します。ログインしたら、Django管理インターフェースを使用してプロジェクトのデータの管理を開始できます。
演習
最初のDjangoアプリケーションの構築手順を説明したので、次のトピックに進む前に実行する必要があるいくつかの演習があります。
- 現在、sqliteを使用してデータベースを管理していますが、MySQLまたはPostgreSQLを使用し、settings.pyを変更してみましょう。
- 現在、DEBUGはTrueですが、開発用には問題ありません。本番環境ではDEBUG=Trueを使用しないでください。django-environパッケージを使用して、異なる環境を分離しましょう。
- SECRET_KEYもプレーンテキストで書かれています。環境変数に移動しましょう。
- Djangoプロジェクト内に
storeという名前のサンプルアプリケーションを作成します。
おめでとうございます!Django学習の1日目が無事終了しました。次の記事では、Djangoモデルとデータベースについて深く掘り下げ、モデルの作成とデータベース操作について学習します。
便利なパッケージ
FAQ(よくある質問)
-
Djangoとは何ですか? Djangoは、Pythonで記述されたWebフレームワークであり、堅牢なツールとライブラリを提供することでWebアプリケーション開発を簡素化します。
-
なぜ仮想環境を使用する必要がありますか? 仮想環境を使用すると、プロジェクトの依存関係が分離され、異なるプロジェクトのパッケージ間の競合を防ぐことができます。
-
Django開発にはどのテキストエディターを使用する必要がありますか? テキストエディターの人気のある選択肢としては、Visual Studio Code、Sublime Text、PyCharmなどがあり、それぞれが生産性を高める機能を提供しています。
-
Django管理インターフェースの目的は何ですか? Django管理インターフェースを使用すると、レコードの作成、更新、削除など、プロジェクトのデータを簡単に管理できます。
-
新しいDjangoプロジェクトを作成するにはどうすればよいですか?
django-admin startproject projectnameコマンドを使用して新しいDjangoプロジェクトを作成できます。 -
開発サーバーの機能は何ですか? 開発サーバーを使用すると、本番環境にデプロイする前に、ローカルでDjangoプロジェクトを実行してテストできます。
-
Django管理インターフェースにアクセスするにはどうすればよいですか? ブラウザで管理URLにアクセスし、スーパーユーザーアカウントでログインすることで、Django管理インターフェースにアクセスできます。


