Python 魔術メソッド:全てを知るためのガイド パート1
By khoanc, at: 2023年9月12日11:20
予想読書時間: __READING_TIME__ 分
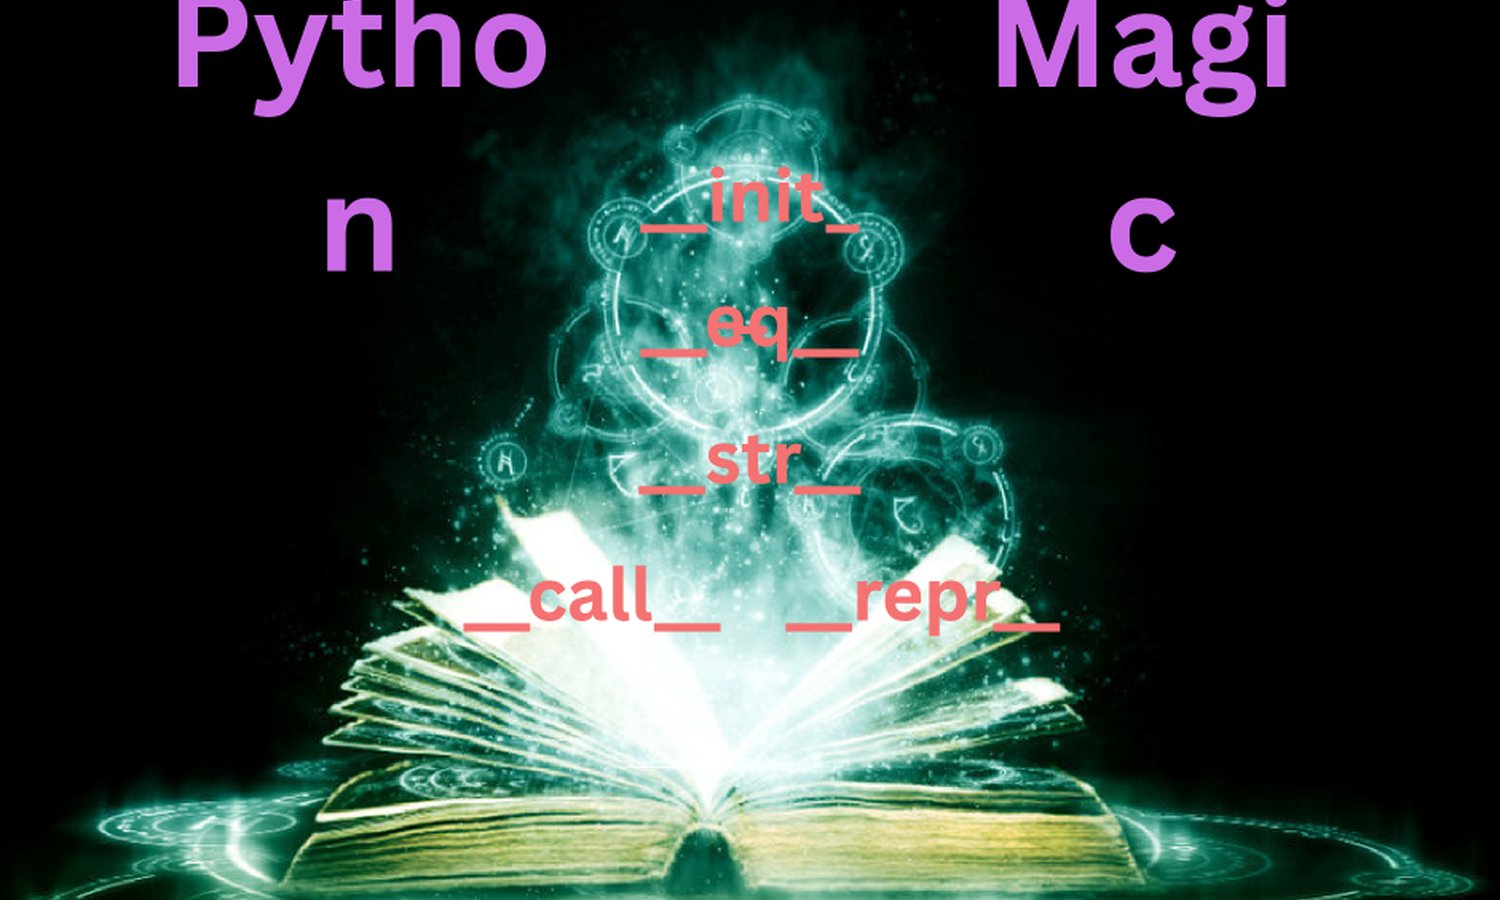
Pythonは、そのシンプルさとエレガンスで有名ですが、開発者にオブジェクトの動作をきめ細かく制御できる強力な機能セットを秘めています。この制御の中心となるのが、Pythonの「マジックメソッド」または「dunderメソッド」であり、二重のアンダースコア(例:__init__、__str__)で示されます。これらの特殊なメソッドを使用すると、Pythonオブジェクトのカスタム動作を定義して、より直感的で柔軟なものにすることができます。
このPython 3マジックメソッドの探求では、その謎を一つずつ解き明かしていきます。これらのメソッドは、オブジェクトの作成、表現、さらには破棄においても重要な役割を果たします。マジックメソッドの力を理解し、活用することで、正確な要件に適合するPythonクラスを作成し、コードの表現力とエレガンスを新たなレベルに引き上げることができます。
1. 初期化と構築
__new__
目的:__new__メソッドは、オブジェクトが作成されるときに呼び出されます。クラスの新しいインスタンスを作成して返す役割があります。__init__によって初期化される前に、オブジェクトの作成プロセスをカスタマイズする必要がある場合によく使用されます。
例
class MySingleton:

    instance = None

    # クラス属性で単一のインスタンスを格納

    def __new__(cls):

        if cls.instance is None:

            cls.instance = super(MySingleton, cls).__new__(cls)

        return cls.instance


obj1 = MySingleton()

obj2 = MySingleton() # obj1とobj2は同じインスタンスです print(obj1 is obj2) # 出力: True
__init__
目的:__new__メソッドの後に呼び出され、オブジェクトの属性を初期化する役割があります。オブジェクトの初期状態を設定できます。
例
class Person:

    def __init__(self, name):

        self.name = name

obj = Person("Alice")

print(obj.name) # 出力: "Alice"
__del__
目的:デストラクタとも呼ばれる__del__メソッドは、オブジェクトが破棄または削除されようとしているときに呼び出されます。クリーンアップ操作を実行したり、オブジェクトに関連付けられたリソースを解放したりするために使用できます。
例
class Appartment:

    def __init__(self, name):

        self.name = name

    def __del__(self):

        print(f"Resource {self.name} is being destroyed.")


obj = Appartment("Wonder 7")

del obj # 出力: "Resource Wonder 7 is being destroyed."
2. 数値マジックメソッド
__trunc__
目的: 浮動小数点数をゼロに向かって切り捨てるmath.trunc()関数の動作を実装します。
例
class CustomNumber:

    def __init__(self, value):

        self.value = value

    def __trunc__(self):

        return int(self.value)


num = CustomNumber(4.9)

result = math.trunc(num)

print(result)  # 出力: 4
__ceil__
目的: 数値を最も近い整数に切り上げるmath.ceil()関数の動作を実装します。
例
class CustomNumber:

    def __init__(self, value):

        self.value = value

    def __ceil__(self):

        return math.ceil(self.value)


num = CustomNumber(3.2)

result = math.ceil(num)

print(result)  # 出力: 4
__floor__
目的: 数値を最も近い整数に切り下げるmath.floor()関数の動作を実装します。
例
class CustomNumber:

    def __init__(self, value):

        self.value = value

    def __floor__(self):

        return math.floor(self.value)


num = CustomNumber(3.8)

result = math.floor(num)

print(result)  # 出力: 3
__round__
目的: 組み込みのround()関数の動作を実装し、指定された小数点以下の桁数(n)でカスタム丸めを可能にします。
例
class CustomNumber:

    def __init__(self, value):

        self.value = value

    def __round__(self, n):

        return round(self.value, n)


num = CustomNumber(3.14159265)

result = round(num, 2)

print(result)  # 出力: 3.14
__invert__
目的: オブジェクトに~演算子(ビットごとのNOT)が適用された場合の反転の動作を実装します。
例
class MyBitwise:

    def __init__(self, value):

        self.value = value

    def __invert__(self):

        return ~self.value


bitwise_obj = MyBitwise(5)

result = ~bitwise_obj

print(result)  # 出力: -6 (5のビットごとのNOT)
__abs__
目的: 組み込みのabs()関数の動作を実装し、オブジェクトの絶対値を返します。
例
class CustomNumber:

    def __init__(self, value):

        self.value = value

    def __abs__(self):

        return abs(self.value)


num = CustomNumber(-7)

result = abs(num)

print(result)  # 出力: 7
__neg__
目的: オブジェクトに適用された単項マイナス(-)の動作を実装します。
例
class CustomNumber:

    def __init__(self, value):

        self.value = value

    def __neg__(self):

        return -self.value


num = CustomNumber(10)

result = -num

print(result)  # 出力: -10
__pos__
目的: オブジェクトに適用された単項プラス(+)の動作を実装します。
例
class CustomNumber:

    def __init__(self, value):

        self.value = value

    def __pos__(self):

        return +self.value


num = CustomNumber(10)

result = +num

print(result)  # 出力: 10
3. 算術演算子
Pythonでは、マジックメソッドを使用して算術演算のカスタム動作を定義できます。これらのメソッドにより、オブジェクトをシームレスに数学計算に参加させることができます。重要な算術マジックメソッドを以下に示します。
__add__
目的: オブジェクト間で使用される加算(+)演算子の動作を実装します。
例
class CustomNumber:

    def __init__(self, value):

        self.value = value


    def __add__(self, other):

        return CustomNumber(self.value + other.value)


num1 = CustomNumber(5)

num2 = CustomNumber(3)

result = num1 + num2

print(result.value)  # 出力: 8
__sub__
目的: オブジェクト間で使用される減算(-)演算子の動作を実装します。
例
class CustomNumber:

    def __init__(self, value):

        self.value = value


    def __sub__(self, other):

        return CustomNumber(self.value - other.value)


num1 = CustomNumber(8)

num2 = CustomNumber(3)

result = num1 - num2

print(result.value)  # 出力: 5
__mul__
目的: オブジェクト間で使用される乗算(*)演算子の動作を実装します。
例
class CustomNumber:

    def __init__(self, value):

        self.value = value


    def __mul__(self, other):

        return CustomNumber(self.value * other.value)


num1 = CustomNumber(4)

num2 = CustomNumber(7)

result = num1 * num2

print(result.value)  # 出力: 28
__floordiv__
目的: オブジェクト間で使用される床除算(//)演算子の動作を実装します。
例
class CustomNumber:

    def __init__(self, value):

        self.value = value


    def __floordiv__(self, other):

        return CustomNumber(self.value // other.value)


num1 = CustomNumber(10)

num2 = CustomNumber(3)

result = num1 // num2

print(result.value)  # 出力: 3
__div__
目的: オブジェクト間で使用される除算(/)演算子の動作を実装します(Python 2のみ)。
例(Python 2)
class CustomNumber:

    def __init__(self, value):

        self.value = value


    def __div__(self, other):

        return CustomNumber(self.value / other.value)


num1 = CustomNumber(8)

num2 = CustomNumber(2)

result = num1 / num2

print(result.value)  # 出力: 4.0
__truediv__
目的: オブジェクト間で使用される真の除算(/)演算子の動作を実装します(Python 3以降)。
例(Python 3以降)
class CustomNumber:

    def __init__(self, value):

        self.value = value


    def __truediv__(self, other):

        return CustomNumber(self.value / other.value)


num1 = CustomNumber(8)

num2 = CustomNumber(2)

result = num1 / num2

print(result.value)  # 出力: 4.0
__mod__
目的: オブジェクト間で使用される剰余(%)演算子の動作を実装します。
例
class CustomNumber:

    def __init__(self, value):

        self.value = value


    def __mod__(self, other):

        return CustomNumber(self.value % other.value)


num1 = CustomNumber(10)

num2 = CustomNumber(3)

result = num1 % num2

print(result.value)  # 出力: 1
__divmod__
目的: オブジェクト間で使用される組み込みのdivmod()関数の動作を実装します。
例
class CustomNumber:

    def __init__(self, value):

        self.value = value


    def __divmod__(self, other):

        return divmod(self.value, other.value)


num1 = CustomNumber(10)

num2 = CustomNumber(3)

result = divmod(num1, num2)

print(result)  # 出力: (3, 1)
__pow__
目的: オブジェクト間で使用されるべき乗(**)の動作を実装します。
例
class CustomNumber:

    def __init__(self, value):

        self.value = value


    def __pow__(self, other):

        return CustomNumber(self.value ** other.value)


num1 = CustomNumber(2)

num2 = CustomNumber(3)

result = num1 ** num2

print(result.value)  # 出力: 8
__lshift__
目的: オブジェクト間で使用される左ビットシフト(<<)の動作を実装します。
例
class MyBitwise:

    def __init__(self, value):

        self.value = value


    def __lshift__(self, other):

        return MyBitwise(self.value << other.value)


bitwise_obj1 = MyBitwise(8)

bitwise_obj2 = MyBitwise(2)

result = bitwise_obj1 << bitwise_obj2

print(result.value)  # 出力: 32 (8 << 2)
__rshift__
目的: オブジェクト間で使用される右ビットシフト(>>)の動作を実装します。
例
class MyBitwise:

    def __init__(self, value):

        self.value = value


    def __rshift__(self, other):

        return MyBitwise(self.value >> other.value)


bitwise_obj1 = MyBitwise(16)

bitwise_obj2 = MyBitwise(2)

result = bitwise_obj1 >> bitwise_obj2

print(result.value)  # 出力: 4 (16 >> 2)
__and__
目的: オブジェクト間で使用されるビットごとのAND(&)の動作を実装します。
例
class MyBitwise:

    def __init__(self, value):

        self.value = value


    def __and__(self, other):

        return MyBitwise(self.value & other.value)


bitwise_obj1 = MyBitwise(5)

bitwise_obj2 = MyBitwise(3)

result = bitwise_obj1 & bitwise_obj2

print(result.value)  # 出力: 1 (5 & 3)
__or__
目的: オブジェクト間で使用されるビットごとのOR(|)の動作を実装します。
例
class MyBitwise:

    def __init__(self, value):

        self.value = value


    def __or__(self, other):

        return MyBitwise(self.value | other.value)


bitwise_obj1 = MyBitwise(5)

bitwise_obj2 = MyBitwise(3)

result = bitwise_obj1 | bitwise_obj2

print(result.value)  # 出力: 7 (5 | 3)
__xor__
目的: オブジェクト間で使用されるビットごとのXOR(^)の動作を実装します。
例
class MyBitwise:

    def __init__(self, value):

        self.value = value


    def __xor__(self, other):

        return MyBitwise(self.value ^ other.value)


bitwise_obj1 = MyBitwise(5)

bitwise_obj2 = MyBitwise(3)

result = bitwise_obj1 ^ bitwise_obj2

print(result.value)  # 出力: 6 (5 ^ 3)
__bool__
目的: bool()関数を使用するか、if文のような条件でオブジェクトがブール値のコンテキストで評価されるときのオブジェクトのカスタム動作を定義します。このメソッドは、True(オブジェクトが「真」とみなされる場合)またはFalse(オブジェクトが「偽」とみなされる場合)のいずれかを返す必要があります。
例
class CustomNumber:

    def __init__(self, value):

        self.value = value

    def __bool__(self):

        # カスタムのブール値の動作を定義します。

        return self.value != 0


# 異なる値を持つCustomNumberのインスタンスを作成します。

num1 = CustomNumber(5)  # このインスタンスは「真」とみなされます。

num2 = CustomNumber(0)  # このインスタンスは「偽」とみなされます。


# ブール値のコンテキストでインスタンスを使用します。

if num1:

    print("num1 is considered 'truthy'.")

else:

    print("num1 is considered 'falsy'.")

if num2:

    print("num2 is considered 'truthy'.")

else:

    print("num2 is considered 'falsy'.")
4. 文字列マジックメソッド
Pythonは、オブジェクトが文字列に変換されたとき、表現されたとき、またはさまざまな文字列関連の操作で使用されたときのオブジェクトの動作をカスタマイズできるマジックメソッドのセットを提供します。重要な文字列関連のマジックメソッドを以下に示します。
__str__
目的: クラスのインスタンスでstr()が呼び出されたときの動作を定義します。オブジェクトの人の読める文字列表現を返す必要があります。
例
class CustomString:

    def __init__(self, value):

        self.value = value


    def __str__(self):

        return f"CustomString instance with value: {self.value}"


obj = CustomString(42)

print(str(obj))  # 出力: "CustomString instance with value: 42"
__repr__
目的: 組み込みのrepr()メソッドによって呼び出され、オブジェクトの型の機械で読める表現を返します。
例
class CustomString:

    def __init__(self, value):

        self.value = value


    def __repr__(self):

        return f"CustomString({self.value})"


obj = CustomString(42)

print(repr(obj))  # 出力: "CustomString(42)"
__unicode__
目的: このメソッドは、オブジェクトのUnicode文字列表現を返します。
例
class CustomString:

    def __init__(self, value):

        self.value = value


    def __unicode__(self):

        return unicode(self.value)


obj = CustomString(u'Hello')

print(unicode(obj))  # 出力: u'Hello'
__format__
目的: 新しいスタイルの文字列フォーマットを使用するときにカスタムフォーマットを許可します。
例
class CustomDate:

    def __init__(self, year, month, day):

        self.year = year

        self.month = month

        self.day = day


    def __format__(self, formatstr):

        if formatstr == 'short':

            return f'{self.month}/{